$235.00 – $285.00
- Original Series Description
- Custom Cerakote Options
- Original Series Compatibilities
- Handguard Installation
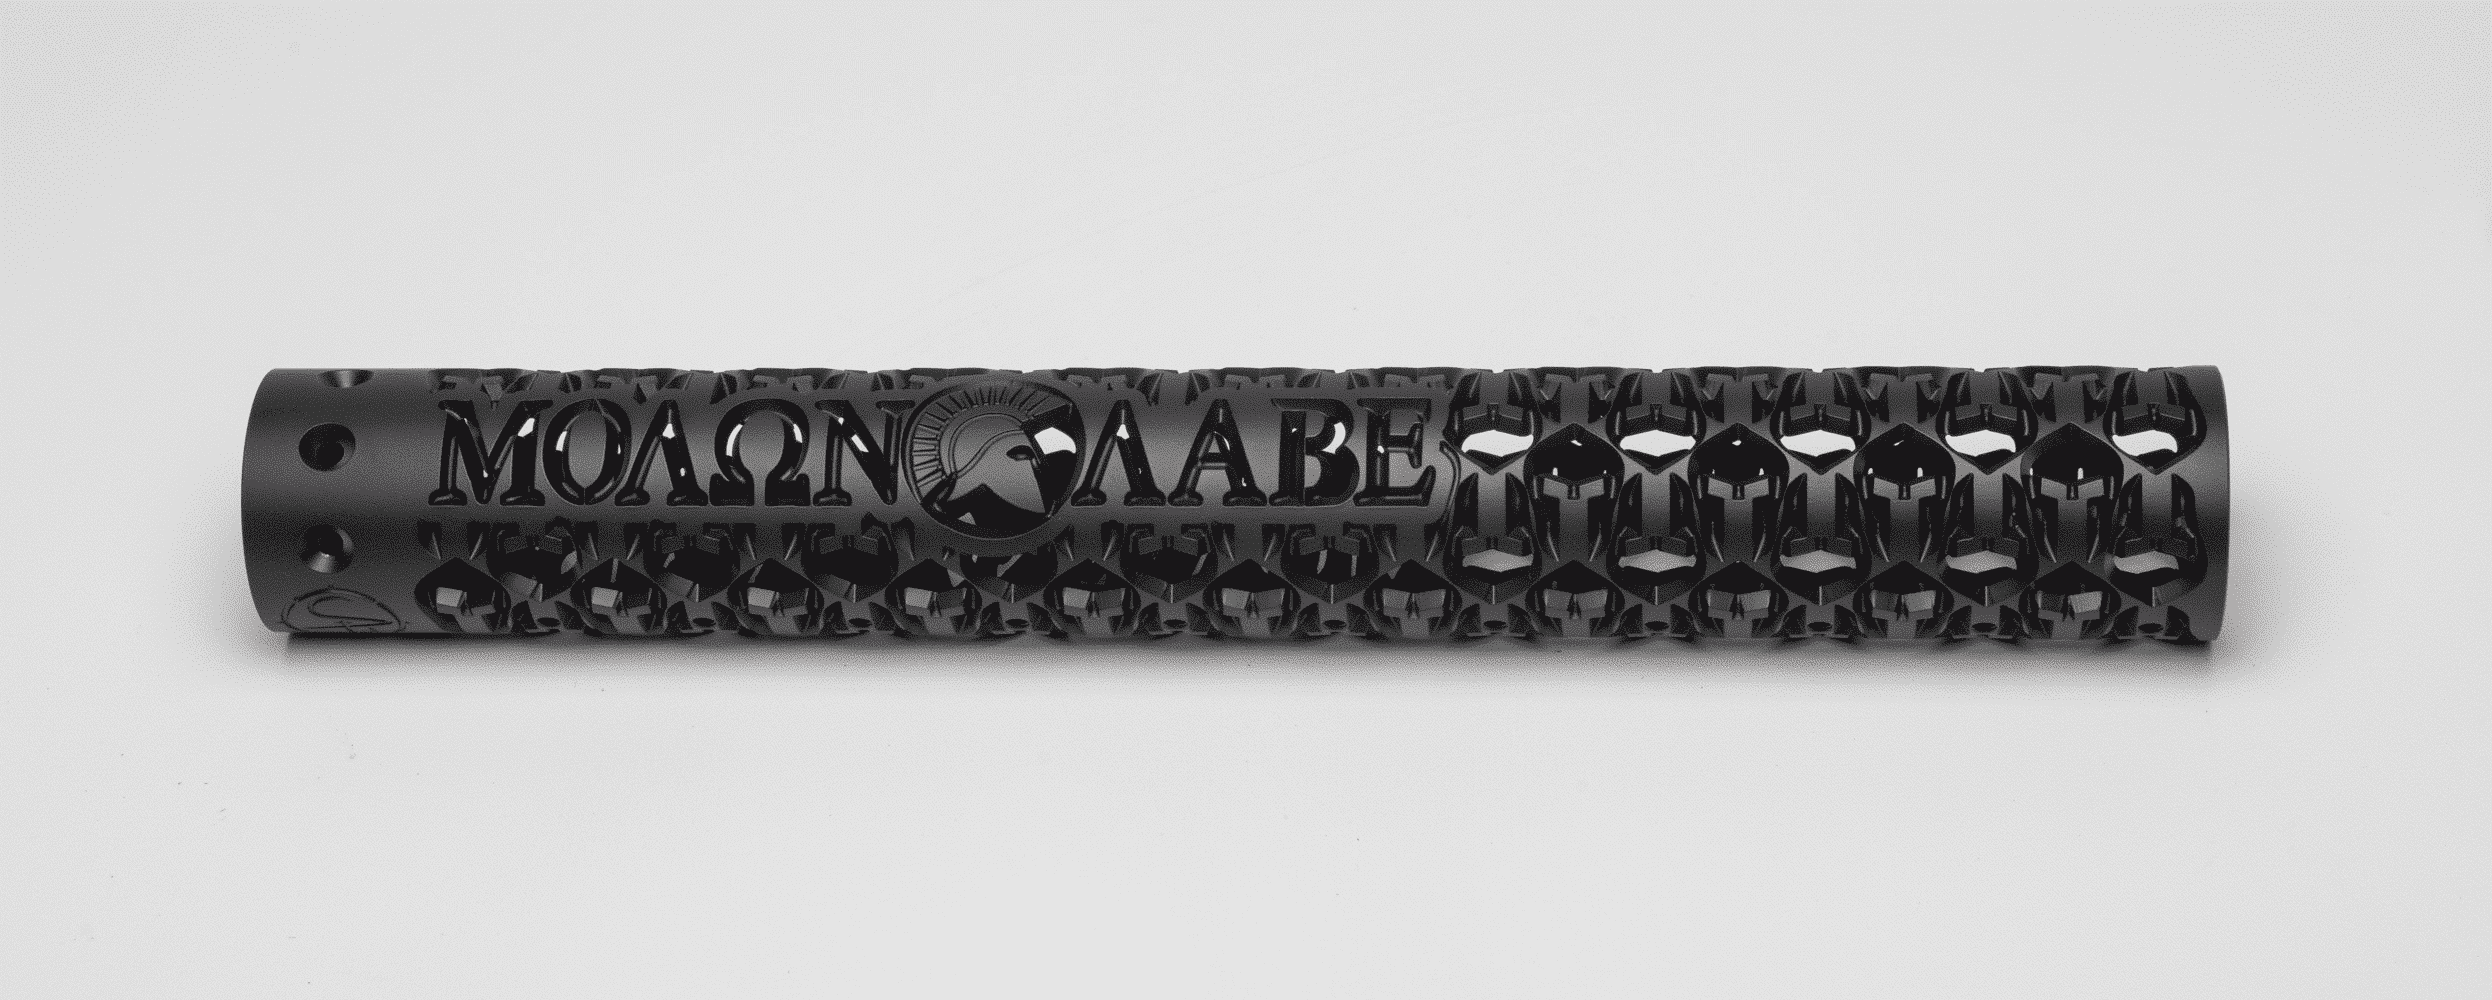
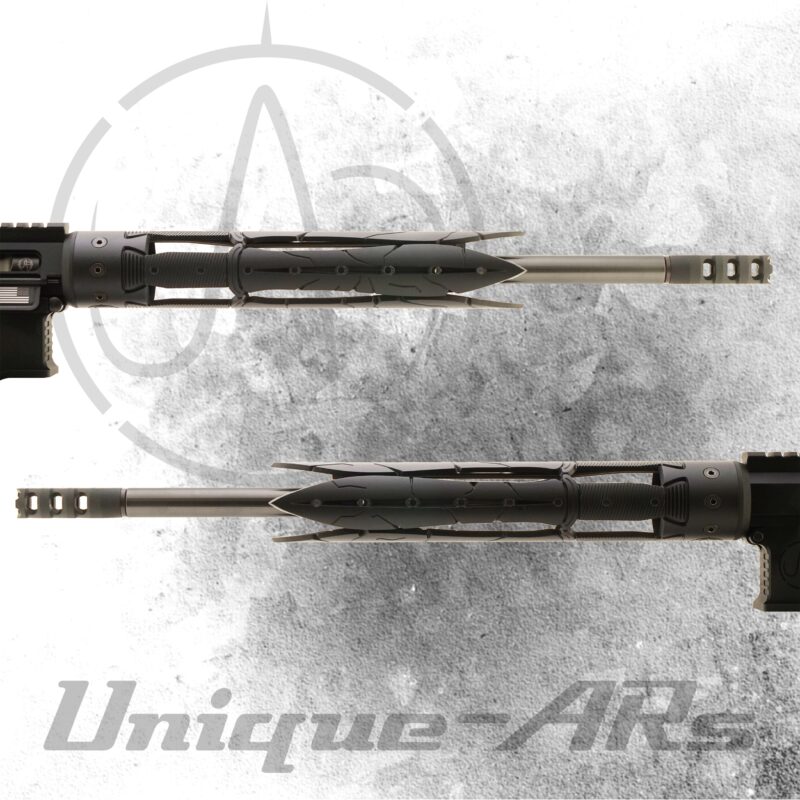
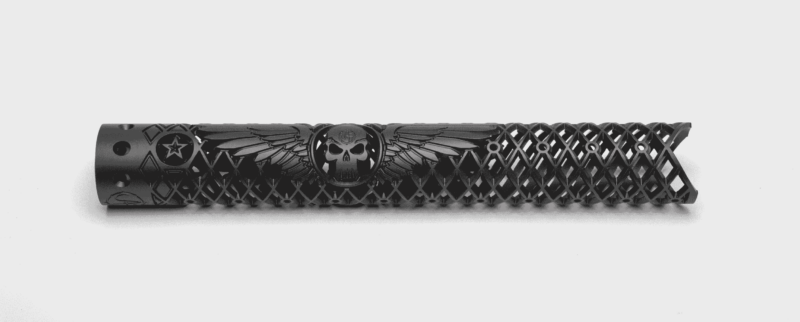
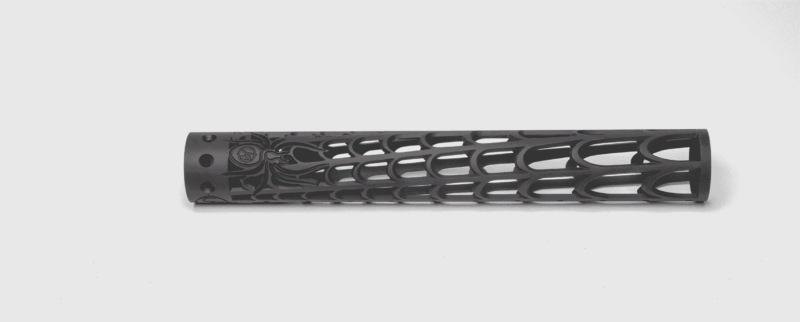
- Free-float handguard made of 6061 T6 Aluminum
- Inside diameter 1.75″, exterior diameter 2″
- Compatible with any mil spec AR-15 upper receiver or (DPMS Gen 1 Style) AR-10 upper
- Mount accessories with Unique-ARs proprietary picatinny rail only
- Cerakote H-Series Colors only: Click here to see all H-Series Colors
- Custom Cerakote takes additional time for processing. Single colors typically ship within 5-7 business days, and Two-Tones typically ship within 7-10 business days.
- Main Body Color: whole handguard is Cerakoted in (1) H-Series color of your choice
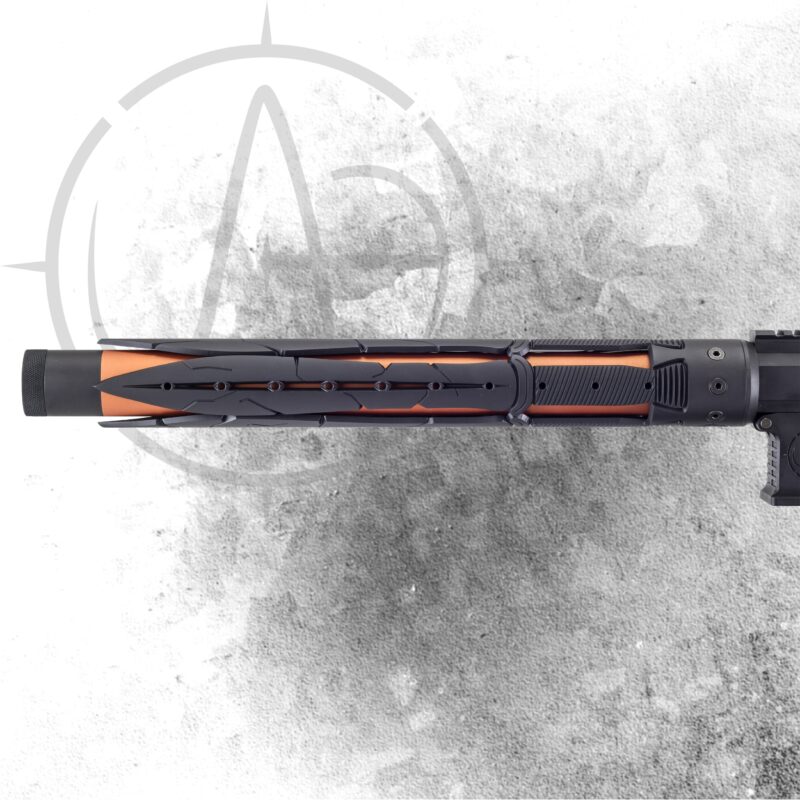
- Cut Edge Color: handguard will feature a main color, with cut edges & inside in another color (ex. Snow White handguard with USMC Red cut edges & inside)
Slim Series handguards’ top rail will be Cerakoted the same color as the main body
- For more than 2-colors or schemes that are not just a main body color/cut edge color, a rendering is required. Please email us at sales@unique-ars.com with your inquiry
- Armor Black is considered a color when used in conjunction with any other color as a two-tone scheme
- We recommend not using the grouped colors below in conjuction with each other because they appear like the same color (e.g. it will appear that a 2-tone handguard is only 1 color):
- DARK COLORS: Armor Black (H-190), Graphite Black (H-146), Cobalt (H-112), Sniper Grey(H-234), Midnight Blue (H-238), Midnight Green (H-252), Socom Blue (H-245), Mag Pul O.D Green (H-232)
- BRONZE COLORS: Burnt Bronze (H-148), Midnight Bronze (H-294), Vortex Bronze (H-293)
- GREENS: O.D Green (H-236), MagPul O.D Green (H-232)
- FDE COLORS: F.D.E. (H-265), MagPul FDE (H-267)
- UAR Wrench or regular M4 Armorers wrench works with our AR-15 barrel nut
- UAR Wrench is required for our AR-10 barrel nut
- Low-profile gas system required
- Compatible with our Heat & Short Shields when used only with an AR-15 barrel nut (Dolos, AR-10, and RPR barrel nuts are not compatible with our shields)
Handguard Mounting Instructions and Tips:
Before mounting handguard insure your receiver is mil-spec. If not, confirm fit of parts before beginning mounting instructions. Some non mil-spec receivers require barrel nut to be backed away from the upper receiver to allow clearance of over sized front lugs.
Step: 1) Once you have the old free float-tube and/or barrel nut removed, clean any grease or oil from the threads of the upper receiver extension.
Step: 2) This step is optional to allow easier installment of handguard. LocTite® is not required for installation of handguard. Apply a drop or two of blue LocTite® to the receiver threads and screw the large aluminum barrel-nut on until it stops, then back it off until the gas tube holes line up.
Step: 3) Insert the barrel and slide the steel castle bolt over the barrel and thread it into the aluminum barrel-nut; now, use a .184″ or 3/16″ bit or punch to to keep the gas tube holes aligned .
Step 4) With the punch inserted in the gas tube holes turn the steel castle bolt by hand until you get a good, solid hand-tight alignment with the barrel-nut and receiver. Once you have the two aligned, let it set for a 2-24 hours. After the blue LocTite® has cured between the barrel-nut and receiver, the steel insert and barrel can be removed.
Step 5) For final assembly insert the barrel, thread the steel castle bolt into the barrel-nut and once it is finger tight. Optional: Then back it off three or four turns and place a drop of blue LocTite® on the threads of the steel insert, right where it becomes visible out of the barrel-nut.
Step 6) Now torque the steel insert down to desired torque (according to your rifle manufacturer’s specifications). This can all be accomplished with or without the use of punch in the gas tube but the barrel-nut can move while you are torquing the steel castle nut, and then you will have to loosen it up and re-time it. We recommend using the punch to insure proper timing.
Step 7) Once you have installed the gas tube, slide the handguard onto the barrel nut and aligned the 6 radial holes with the corresponding holes in the barrel-nut. Now the 6 countersunk screws can be installed. Tighten until snug. DO NOT over tighten. Stripped screws are not covered by the warranty.

